How to Install XAMPP and WordPress Locally on Windows PC?
Please wait 0 seconds...
Scroll Down and click on Go to Link for destination
Congrats! Link is Generated
H
ello everyone! I am PH Wizards, Today on this occasion our Tutorial is How to Install XAMPP and WordPress Locally on Windows PC?
Need to introduce XAMPP and WordPress - otherwise known as. introduce WordPress locally? This is smart on the off chance that you need an improvement site that can be utilized for testing or different purposes. XAMPP allows you to run a site from your own special PC. What's more, when you get it set up, you can turn up another WordPress introduce with only a couple of snaps.
Be that as it may, to really introduce XAMPP and WordPress can be somewhat precarious, so you could require some assistance.
In this bit by bit instructional exercise, I'll tell you the very best way to introduce XAMPP and set up a nearby WordPress improvement site. I'll likewise share some normal XAMPP blunders and investigating tips with the goal that you can fix any issues you experience (however the vast majority won't encounter any issues following this aide!).
Toward the finish of this, you'll have your own personal nearby WordPress testing climate running on Windows.
Step 1: Download and Install XAMPP
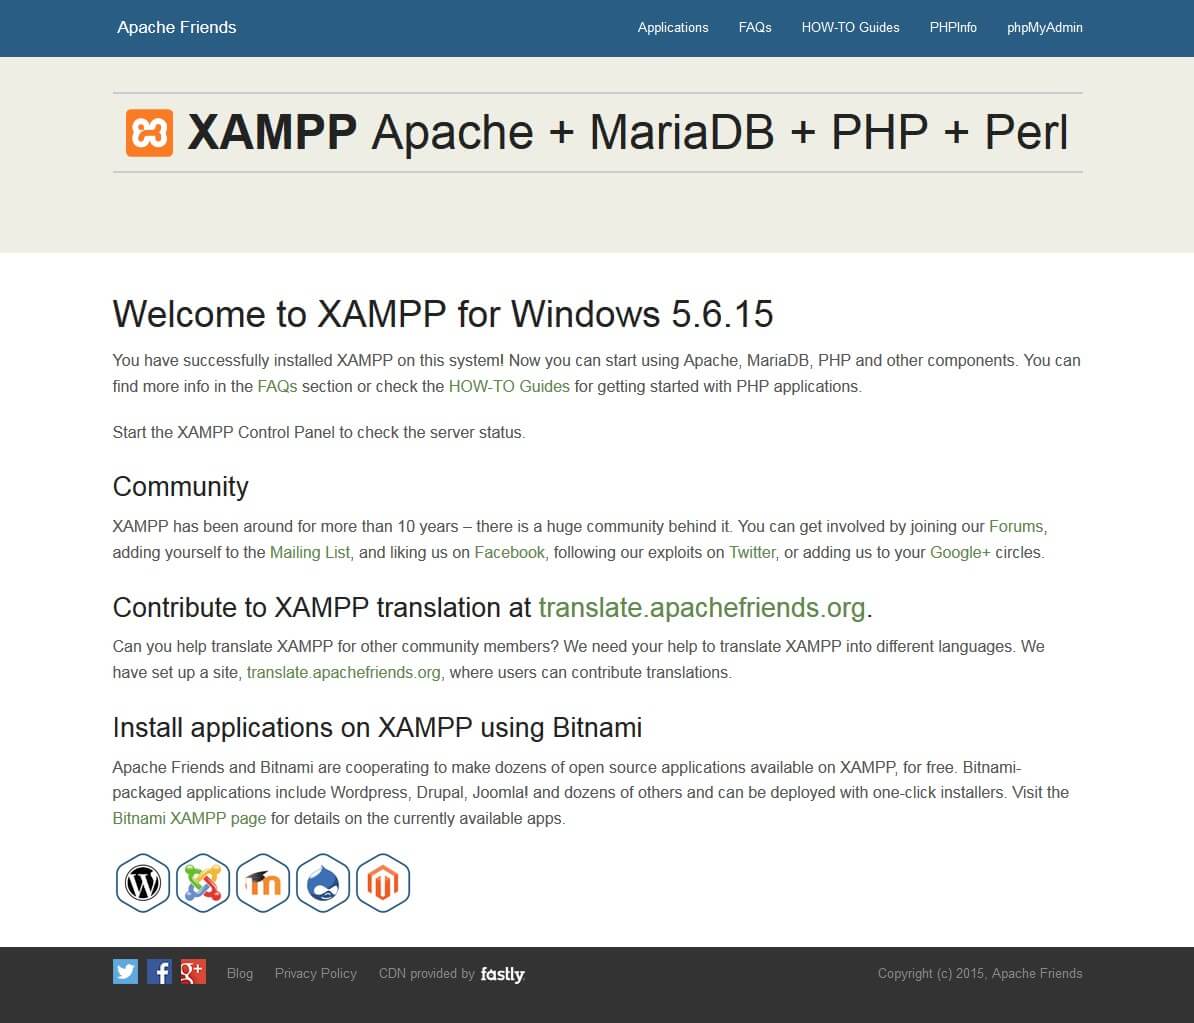
To download and introduce XAMPP, go to apachefriends downloads page, the authority connect to download XAMPP from. You will see XAMPP prepared to download for cross-stage like Windows, Linux, Mac OS X. Since we are examining How to introduce XAMPP on Windows 10, in this way, we will pick the Windows choice as displayed underneath.
Installing XAMPP
Our XAMPP tutorial will take you through the installation process for the software package on Windows. If you’re using Linux or Mac OS X, then the steps listed below for the installation process may differ.
Step 1: Download
XAMPP is a release made available by the non-profit project Apache Friends. Versions with PHP 5.5, 5.6, or 7 are available for download on the Apache Friends website.
Download and Install XAMPP
WordPress, 164 MB .rar
Step 2: Run .exe file
Once the software bundle has been downloaded, you can start the installation by double clicking on the file with the ending .exe.
Step 3: Deactivate any antivirus software
Since an active antivirus program can negatively affect the installation process, it’s recommended to temporarily pause any antivirus software until all XAMPP components have successfully been installed.
Before installing XAMPP, it is advisable to disable the anti-virus program temporarily
Step 4: Deactivate UAC
User Account Control (UAC) can interfere with the XAMPP installation because it limits writing access to the C: drive, so we recommend you deactivate this too for the duration of the installation process. To find out how to turn off your UAC, head to the Microsoft Windows support pages.
User account control can affect the installation of XAMPP
Step 5: Start the setup wizard
After you’ve opened the .exe file (after deactivating your antivirus program(s) and taken note of the User Account Control, the start screen of the XAMPP setup wizard should appear automatically. Click on ‘Next’ to configure the installation settings.
You can start the setup on the startup screen
Step 6: Choose software components
Under ‘Select Components’, you have the option to exclude individual components of the XAMPP software bundle from the installation. But for a full local test server, we recommend you install using the standard setup and all available components. After making your choice, click ‘Next’.
In the dialog window entitled 'select components', you can choose the software components before installation
Step 7: Choose the installation directory
In this next step, you have the chance to choose where you’d like the XAMPP software packet to be installed. If you opt for the standard setup, then a folder with the name XAMPP will be created under C:\ for you. After you’ve chosen a location, click ‘Next’.
For the next step, you need to select the directory where XAMPP should be installed
Step 8: Start the installation process
Once all the aforementioned preferences have been decided, click to start the installation. The setup wizard will unpack and install the selected components and save them to the designated directory. This process can take several minutes in total. You can follow the progress of this installation by keeping an eye on the green loading bar in the middle of the screen.
According to the default settings, the selected software components are unpacked and installed in the target folder
Step 9: Windows Firewall blocking
Your Firewall may interrupt the installation process to block the some components of the XAMPP. Use the corresponding check box to enable communication between the Apache server and your private network or work network. Remember that making your XAMPP server available for public networks isn’t recommended.
Step 10: Complete installation
Once all the components are unpacked and installed, you can close the setup wizard by clicking on ‘Finish’. Click to tick the corresponding check box and open the XAMPP Control Panel once the installation process is finished.
By clicking on 'finish', the XAMPP Setup Wizard is completed
The XAMPP Control Panel
Controls for the individual components of your test server can be reached through the XAMPP Control Panel. The clear user interface logs all actions and allows you to start or stop individual modules with a single. The XAMPP Control Panel also offers you various other buttons, including:
Config: allows you to configure the XAMPP as well as the individual components
Netstat: shows all running processes on the local computer
Shell: opens a UNIX shell
Explorer: opens the XAMPP folder in Windows Explorer
Services: shows all services currently running in the background
Help: offers links to user forums
Quit: closes the XAMPP Control Panel
In the Control Panel, you can start and stop individual modules
Starting modules
Individual modules can be started or stopped on the XAMPP Control Panel through the corresponding buttons under ‘Actions’. You can see which modules have been started because their names are highlighted green under the ‘Module’ title.
An active module is marked in green in the Control Panel
If a module can’t be started as a result of an error, you’ll be informed of this straight away in red font. A detailed error report can help you identify the cause of the issue.
Setting up XAMPP
A common source of error connected with Apache is blocked ports. If you’re using the standard setup, then XAMPP will assign the web server to main port 80 and the SSL port 443. The latter of these particularly is often blocked by other programs. In the example above, it’s likely that the Tomcat port is being blocked, meaning the web server can’t be started. There are three ways to solve this issue:
Change the conflicting port: Let’s assume for the sake of example that the instant messenger program Skype is blocking SSL port 443 (this is a common problem). One way to deal with this issue is to change Skype’s port settings. To do this, open the program and navigate via ‘Actions’, ‘Options’, and ‘Advanced’, until you reach the ‘Connections’ menu. You should find a box checked to allow Skype access to ports 80 and 443. Deselect this checkbox now.
Change the XAMPP module port settings: Click the Config button for the module in question and open the files httpd.conf and httpd-ssl.conf. Replace port number 80 in httpd.conf and port number 443 in httpd-ssl.conf with any free ports, before saving the file data. Now click on the general Config button on the right-hand side and select ‘Services and Ports Settings’. Customize the ports for the module server to reflect the changes in the conf files.
End the conflicting program: The simplest way to avoid port conflicts in the short term is to end the conflicting program (Skype in this case). If you restart Skype after your XAMPP module servers are already running, it will select a different port and your issue will be resolved.
Modules that can’t be started will be shown in red. The user will also receive an error report to help solve the problem
Module administration
You have an ‘Admin’ option located on the Control Panel for every module in your XAMPP.
Click on the Admin button of your Apache server to go to the web address of your web server. The Control Panel will now start in your standard browser, and you’ll be led to the dashboard of your XAMPP’s local host. The dashboard features numerous links to websites for useful information as well as the open source project BitNami, which offers you many different applications for your XAMPP, like WordPress or other content management systems. Alternatively, you can reach the dashboard through localhost/dashboard/.
By clicking on the 'admin' button of the Apache module, the user will be redirected to the local dashboard of XAMPP
You can use the Admin button of your database module to open phpMyAdmin. Here, you can manage the databases of your web projects that you’re testing on your XAMPP. Alternatively, you can reach the administration section of your MySQL database via localhost/phpmyadmin/.
The web project’s databases are managed by the user in phpMyAdmin (accessible via the 'Admin' button in the database module)
The last step now is to open your web browser and load your PHP page via localhost/test/test.php. If your browser window displays the words ‘Hello World’, then you’ve successfully installed and configured your XAMPP.
💖 In this post We made an instructional exercise on How to Install XAMPP and WordPress Locally on Windows PC?. I want to believe that you have loved it and kindly offer with your companions and follow up our blog for more.
Such a detailed Intro and way of teaching so simple.
Amra
September 1, 2022 at 6:35 AM
I was struggling with installing wordpress for localhost, then came across this video. WOW, absolutely brilliant👍. Not only the installation process but also configuring a multi network setup for many sites. You are a life saver. Highly Recommend 🌟🌟🌟🌟🌟
1
Clouds
September 1, 2022 at 6:35 AM
Great video, thank you! One question...Could you explain the purpose of creating separate "sites" in the network admin menu? Perhaps a real-world example? I am having trouble understanding the purpose for adding this option... Best,
Aneeqa
September 1, 2022 at 6:36 AM
Thanks for the video, I like the multisite information included here. I created a DB for the site during the install. But if I am going to work w/multisites and each need a DB...what do you do? Create a separate WP install for each locally?
Prestige
September 1, 2022 at 6:37 AM
Fantastic thank you so much, I was struggling till I found this as I am a total WP beginner, great tutorial :))
Andalib
September 1, 2022 at 6:38 AM
Thank you so much for making this very useful video this is easy to understand for a beginner
Nightingale
September 1, 2022 at 6:39 AM
Thank u so much! I learned so many things in your tutorial:)!
Amsah
September 1, 2022 at 6:39 AM
Thanks brother! I've done this before but I'm getting OLD now and have to revisit this every time I do a new site offline!!!
Perfume
September 1, 2022 at 6:46 AM
hye great tutorial , but can anyone plz give me background music link .... hahahhaha i know it sounds funny but can anyone xD
Aneesa
September 1, 2022 at 6:47 AM
Thank you please uplaod more videos related to WordPress.
Arisha
September 1, 2022 at 6:48 AM
Well explained. As a professor all I can suggest is keep your pace a bit slower and coordinate your cliks with your lecture. That would make this series a great screen cast effective. Your modules are great. Good Job!!
Arij
September 1, 2022 at 6:49 AM
IT WAS VERY VERY USEFUL, I WAS STRUGGLING WITH THIS FOR THE PAST FEW DAYS BUT AFTER WATCHING THIS, IT GOT DONE EASILY........... THANK YOU SO MUCH !!!!!!!
Anniyah
September 1, 2022 at 6:51 AM
Awesome Explanation , its working very fine without any issue . Thank you very much for this video
Arafaa
September 1, 2022 at 6:52 AM
Appreciating Your struggle. So well explained. Easy to understand Jazak Allah
Areebah
September 1, 2022 at 6:52 AM
Dear Sir, i have view your first video i really appreciate your efforts, the problem i found that when i open localhost/phpmyadmin there is a newer version and i can't find database button there, what to do now ?
Anwaar
September 1, 2022 at 6:53 AM
Very useful....After a lot of failed attempts, this video helped me install word press correctly. A big THANKS.
Arissa
September 1, 2022 at 6:54 AM
Thanks for the making wp series is very useful for me and with your lecture, I'm interested in beginner, can you be made HTML and CSS deep series? i am very excited and thanks for the new skills for me!
Highness
September 1, 2022 at 6:55 AM
I MUST THANK U FOR YOUR METHOD OF TEACHING SUCH A COMPLICATED SUBJECT IN SO SIMPLE TERM TO BEGINNERS.
Arjin
September 1, 2022 at 6:56 AM
Thank you bhai. For two days I had been installing xampp + wordpress with bitnami and kept messing up my sql table and passwords. I uninstalled everything and did a fresh install by following your instructions, and it was a breeze. You're the best. Love from Pakistan.
Aswaq
September 1, 2022 at 6:56 AM
Thanks I finally got my wordpress installed.I was struggling with Wordpress installation, after watching your tutorial I installed Wordpress easily, thank you very much for the help.
Asmara
September 1, 2022 at 6:57 AM
I am very much thankful to you. I was able to install Wordpress very easily. I'll watch the full series !!
Ashika
September 1, 2022 at 6:58 AM
I was struggling with Wordpress installation, after watching your tutorial I installed Wordpress easily, thank you very much for the help.
9
Asifa
September 1, 2022 at 6:59 AM
hi i followed your tutorial, thanks a lot. i almost made it to installation success but apparently my wp_ tables are missing. i don't know how i can get them? i redownloaded wordpress but it was still the same.
Aswaq
September 1, 2022 at 7:02 AM
Thanks a lot sir for helping me to install wordpress.your tutoring style is just awesome.hats of to you
Post a Comment
Freelancer | Developer | Blogger
Cookie Consent
Cookies Consent
This website uses cookies to ensure you get the best experience on our website.
It seems there is something wrong with your internet connection. Please connect to the internet and start browsing again.
AdBlock Detected!
We have detected that you are using adblocking plugin in your browser. The revenue we earn by the advertisements is used to manage this website, we request you to whitelist our website in your adblocking plugin.